
 Since playing with LEGO‘s with my daughter, we’ve become a little LEGO obsessed lately. But that’s a good thing to geek out on. We took our love one step further when my daughter decided that she wanted a LEGO themed birthday party. Then it hit me, we needed LEGO jewelry to give out as gifts to her guests. So I got to work on making LEGO Bracelets for her and her crew and maybe one for myself.
The first thing you need to do is get the LEGO colors that you want for your bracelet. When making LEGO jewelry you don’t want to have bulky bricks so get LEGO plates. That is what the thin pieces are called. You can do this on LEGO’s website in the LEGO Pick-a-brick store or at a LEGO Store location on the Pick a Brick walls.
Next you’ll need the Dremel® Micro™ 8050 rotary tool to drill tiny holes and sand sharp edges. Here are the pieces you will need for this project.
List of materials:
Dremel® Micro™ 8050
Dremel 7 Piece Drill Bit Set – Easier to get the set and have them handy for your next project.
Dremel 4486 MultiPro Keyless Chuck – This chuck is super handy because you can change out lots of Dremel tools without having to change out multiply sized collets.
445 1/2″, 240 Grit Sanding Band*
407 1/2″, 60 Grit, Sanding Drum Mandrel*
LEGO Plates
Beads
*included in Dremel® Micro™ 8050 tool kit
I used a work bench that holds the LEGO in place but after I got the hang of it I was able to freehand the drilling to cut down on time. I suggest wearing protective eyewear also because the plastic will create tiny pieces that fly around.
Let’s get started!
Start by drilling holes into the sides of the LEGO plate. Make sure you go through the area with the raised LEGO logo, it doesn’t have an additional plastic wall to get through. I marked where I wanted to drill with a liquid gel pen. I drilled two holes into one side of the LEGO and then another two holes on the opposite side so that we can thread two cords into each LEGO plate to make it stay laying flat. Once you have all your holes drilled it’s time to start threading the bracelet. 
Thread your stretchy cord through the backside of the LEGO plate placing a bead in-between each LEGO. I decided to alternate between different sizes and colors to make our bracelets. Only thread the top layer first and then tie it off so that you can thread the bottom half without losing any pieces. 
Now thread the bottom layer of your LEGO bracelet placing a bead in-between LEGO’s just like you did before. Once you’ve threaded all of the pieces tie it off and flip the bracelet inside out. 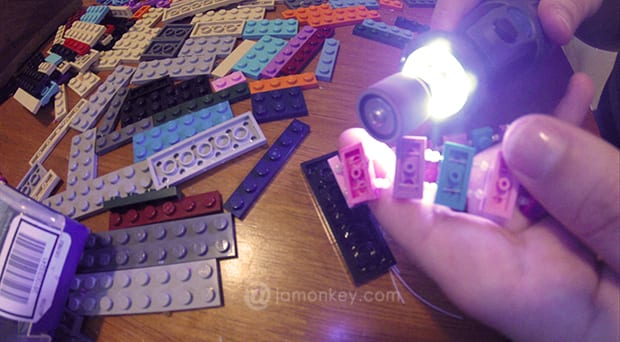
LEGO’s are sharp, you would know that if you’ve ever stepped on one barefoot. So to make your bracelet more comfortable you should use the sanding tool to sand the corners down. Use the slowest setting for this, it only takes a split second to sand off the sharp corner. You barely have to apply it. The plastic from the LEGO’s is pretty easy to drill and sand. 
The possibilities are endless for all the fun colors you can do! 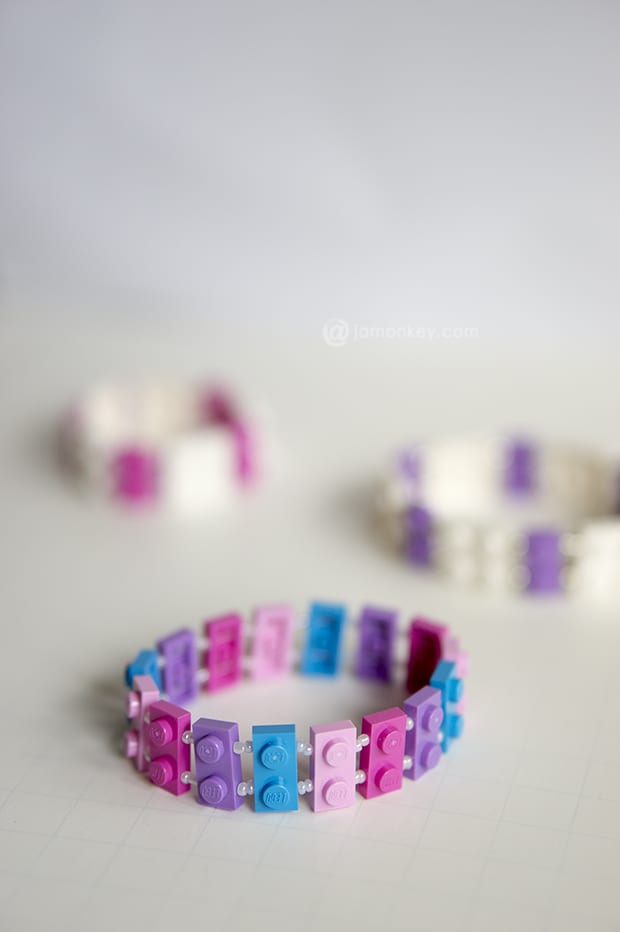
Here is one that I made for myself! I still used two threads to make sure that it lays flat on my wrist. It’s kind of edgy and modern chic! I can totally rock this! 
I’m in love with this Dremel Micro. It’s incredibly light and easy to handle. It has a soft grip that you allows you to hold it like a pen and a LED light at the tip to illuminate your projects. The docking station continually charges the 8V Max Lithium-ion battery. It’s compatible with all of the Dremel tools and accessories also, giving you TONS of options for future projects. We are on the search for some smooth river rocks to make necklaces out of.
Dremel wants to celebrate its fans’ brilliant projects, work and ideas! Now through October 12, share, tweet or post photos on Facebook, Twitter and Instagram that depict your brilliant ideas using the hashtag #MyBrilliantIdeaSweeps for the chance to win weekly prizes, including free tools and handmade gifts, or the grand prize: a custom-engraved Honda scooter and a Micro 8050. Visit www.facebook.com/dremel for rules and to learn more.
Need a video to help you, I got you covered.
I was selected for this opportunity as a member of Clever Girls Collective and the content and opinions expressed here are all my own.

Love this bracelet! ThinkGeek has blinking LEGO bricks, and would keep any LEGOhead busy for hours!
Adorable!
These are funky bracelets. I like them!
I love these! My 4 year old is so Lego obsessed. I should take some of his Legos and make myself a bracelet! Great idea!